
Next.js & Strapi
In this article we will set up a simple blog using Strapi CMS with Next.js front-end to display it content.
By the end of this article we should have been able to:
- Install Strapi Locally
- Set up some content
- Install Next.js
- Set up some components to display data
Before we start...
What is Strapi
Strapi is an open-source, Node.js based, Headless CMS that saves developers a lot of development time while giving them the freedom to use their favorite tools and frameworks. Strapi also enables content editors to streamline content delivery (text, images, video, etc) across any devices.
What is Nextjs
Next.js is a React frame work that lets you build server-side rendering and static web applications using React. It's a great tool to build your next website. It has many great features and advantages, which can make Nextjs your first option for building your next web application.
What you will need
- Nodejs v14+ installed
Installing and setting up Strapi locally
npx create-strapi-app my-project --quickstart
The above command will create a Strapi project called "my-project" in the directory you are in. The quickstart option will automatically start the server once it has finished installing. Once the install has completed and the local server has started you would be able to access the cms using this link http://localhost:1337/admin.
Using the link for the first time will take you to create a super user.
Content Type Builder
The Content-type Builder is a core plugin of Strapi. It is a feature that is always activated by default and cannot be deactivated. The Content-type Builder is however only accessible when the application is in a development environment.
We will use the Content Type Builder to create some collection types with the following properties:
- Article: Title (Text), Content (Rich text), Cover (Media), Author (Relation with User (from: users-permissions), Categories (Relation with Category )
- Category: Name (Text), Articles (Relation with Article )
Permissions
Some features of the admin panel, as well as the content managed with Strapi itself, are ruled by a system of permissions. These permissions can be assigned to roles, which are associated with the users who have access to the admin panel, the administrators. But it is also possible to grant permissions more publicly, to give access to content to the end users of your Strapi application.
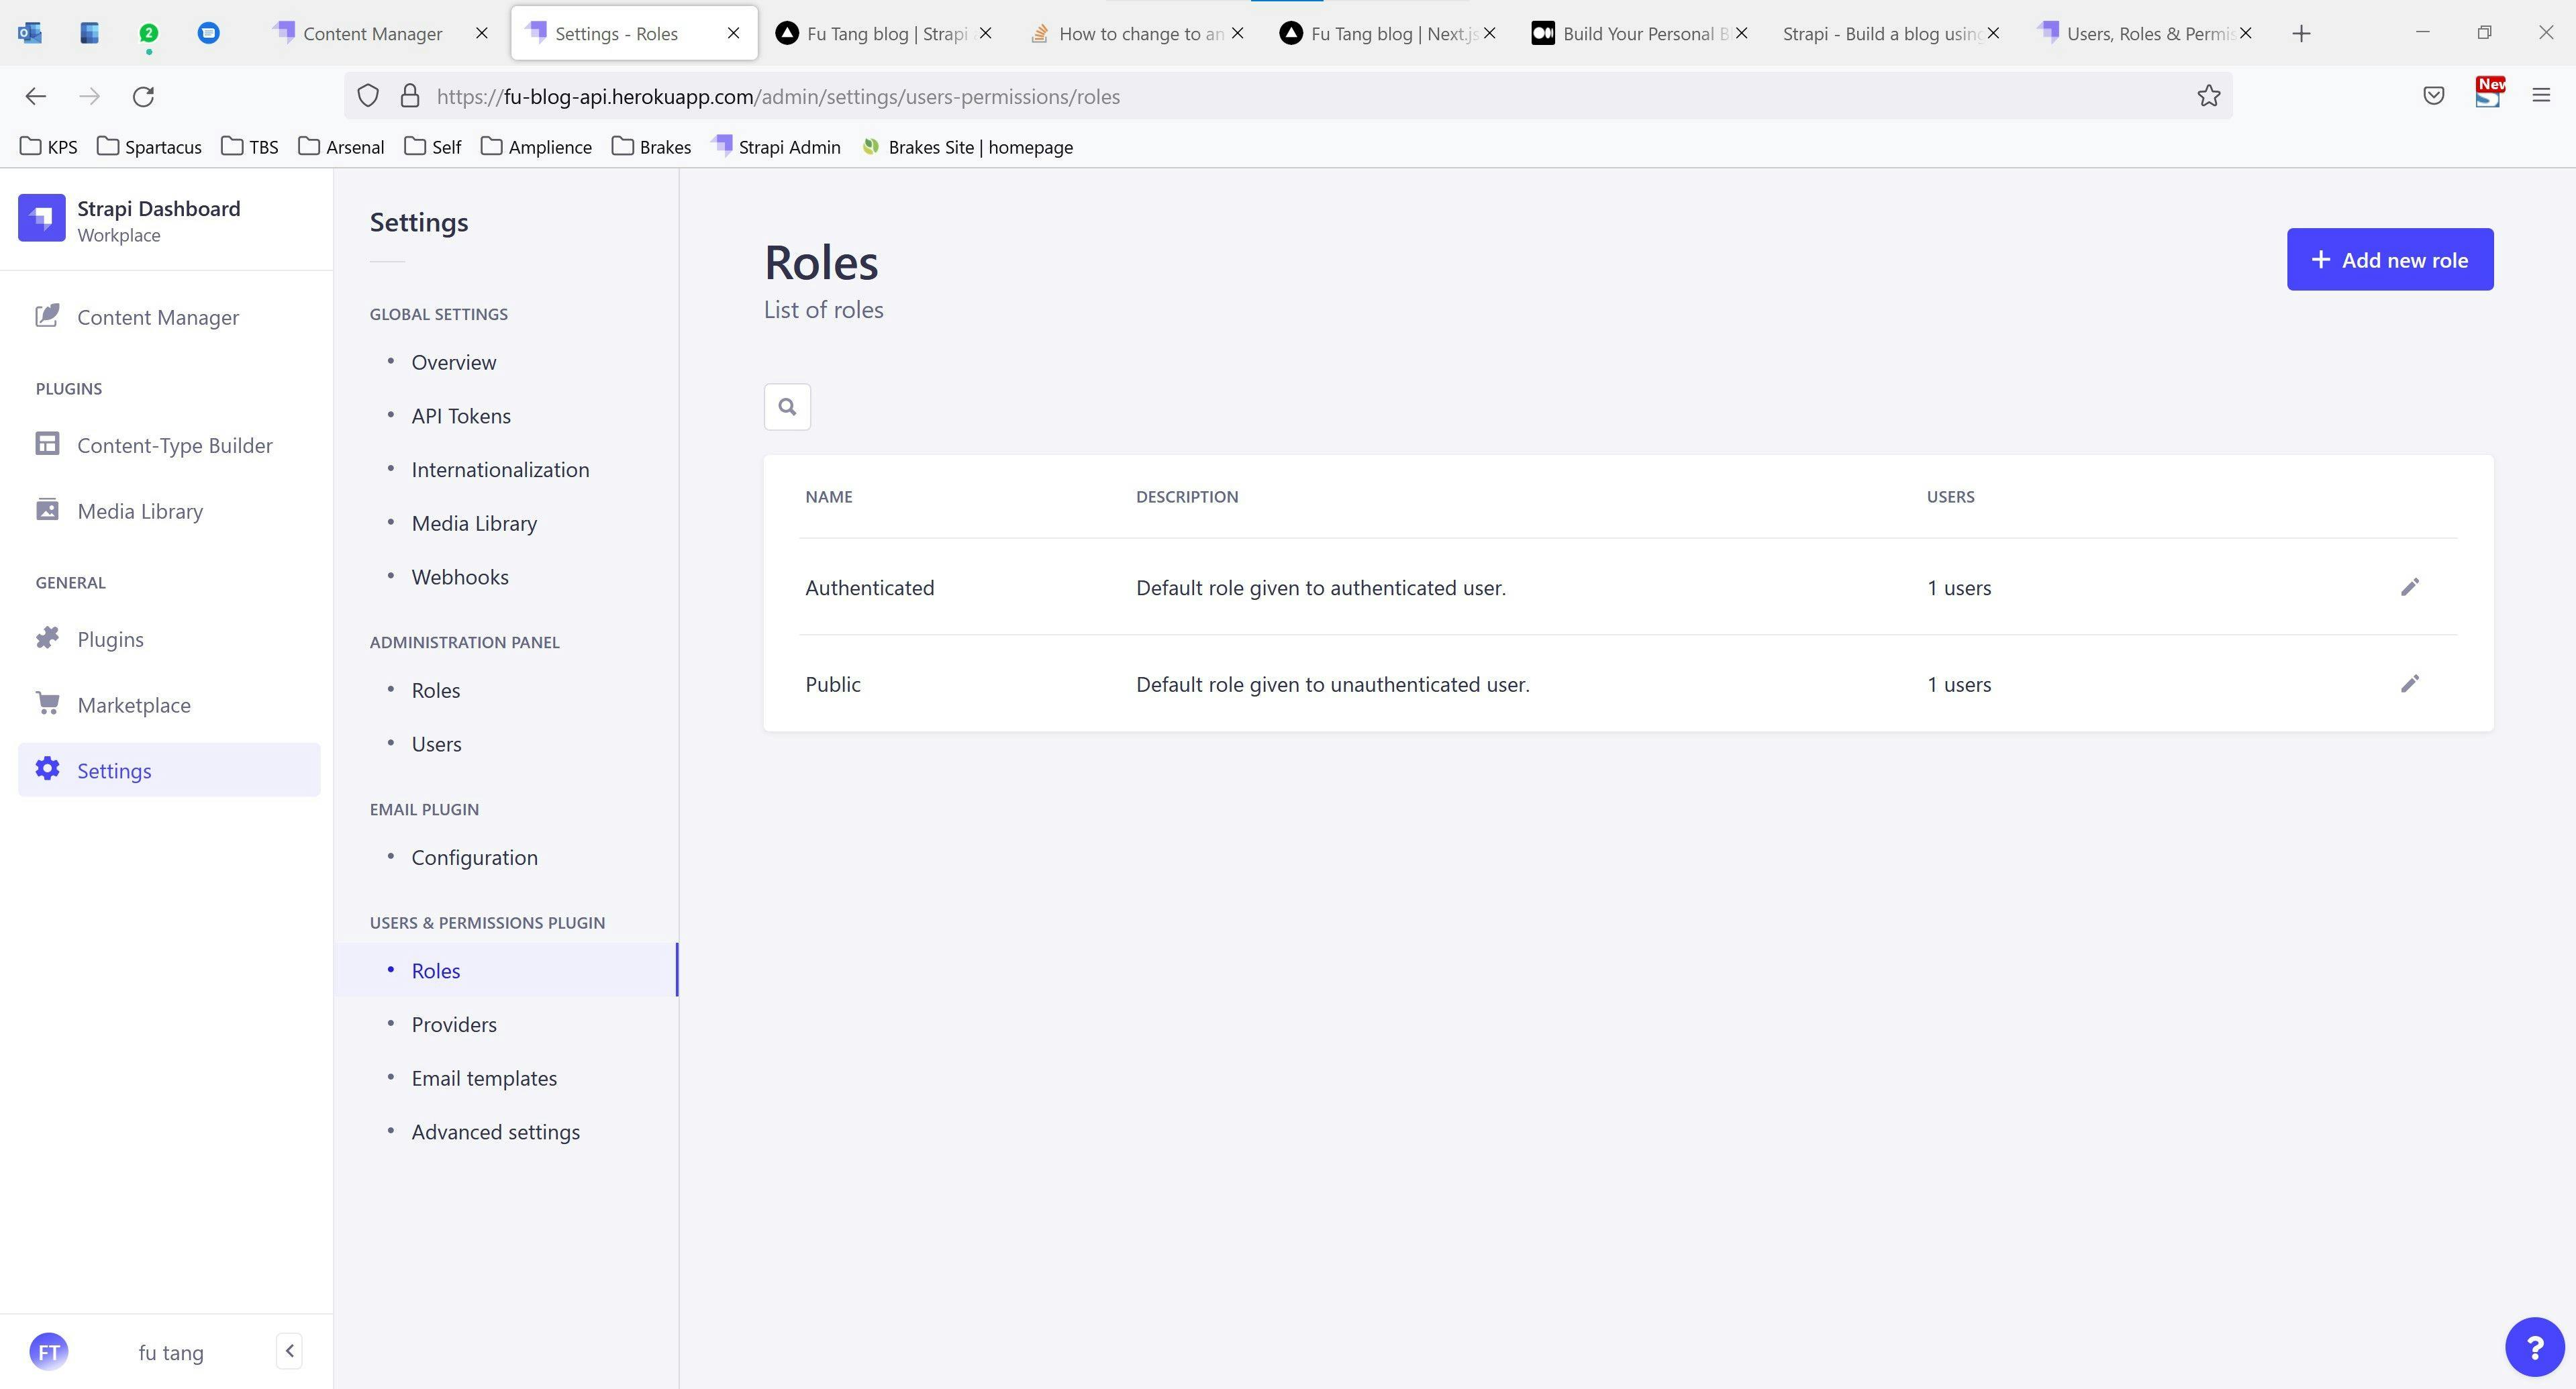
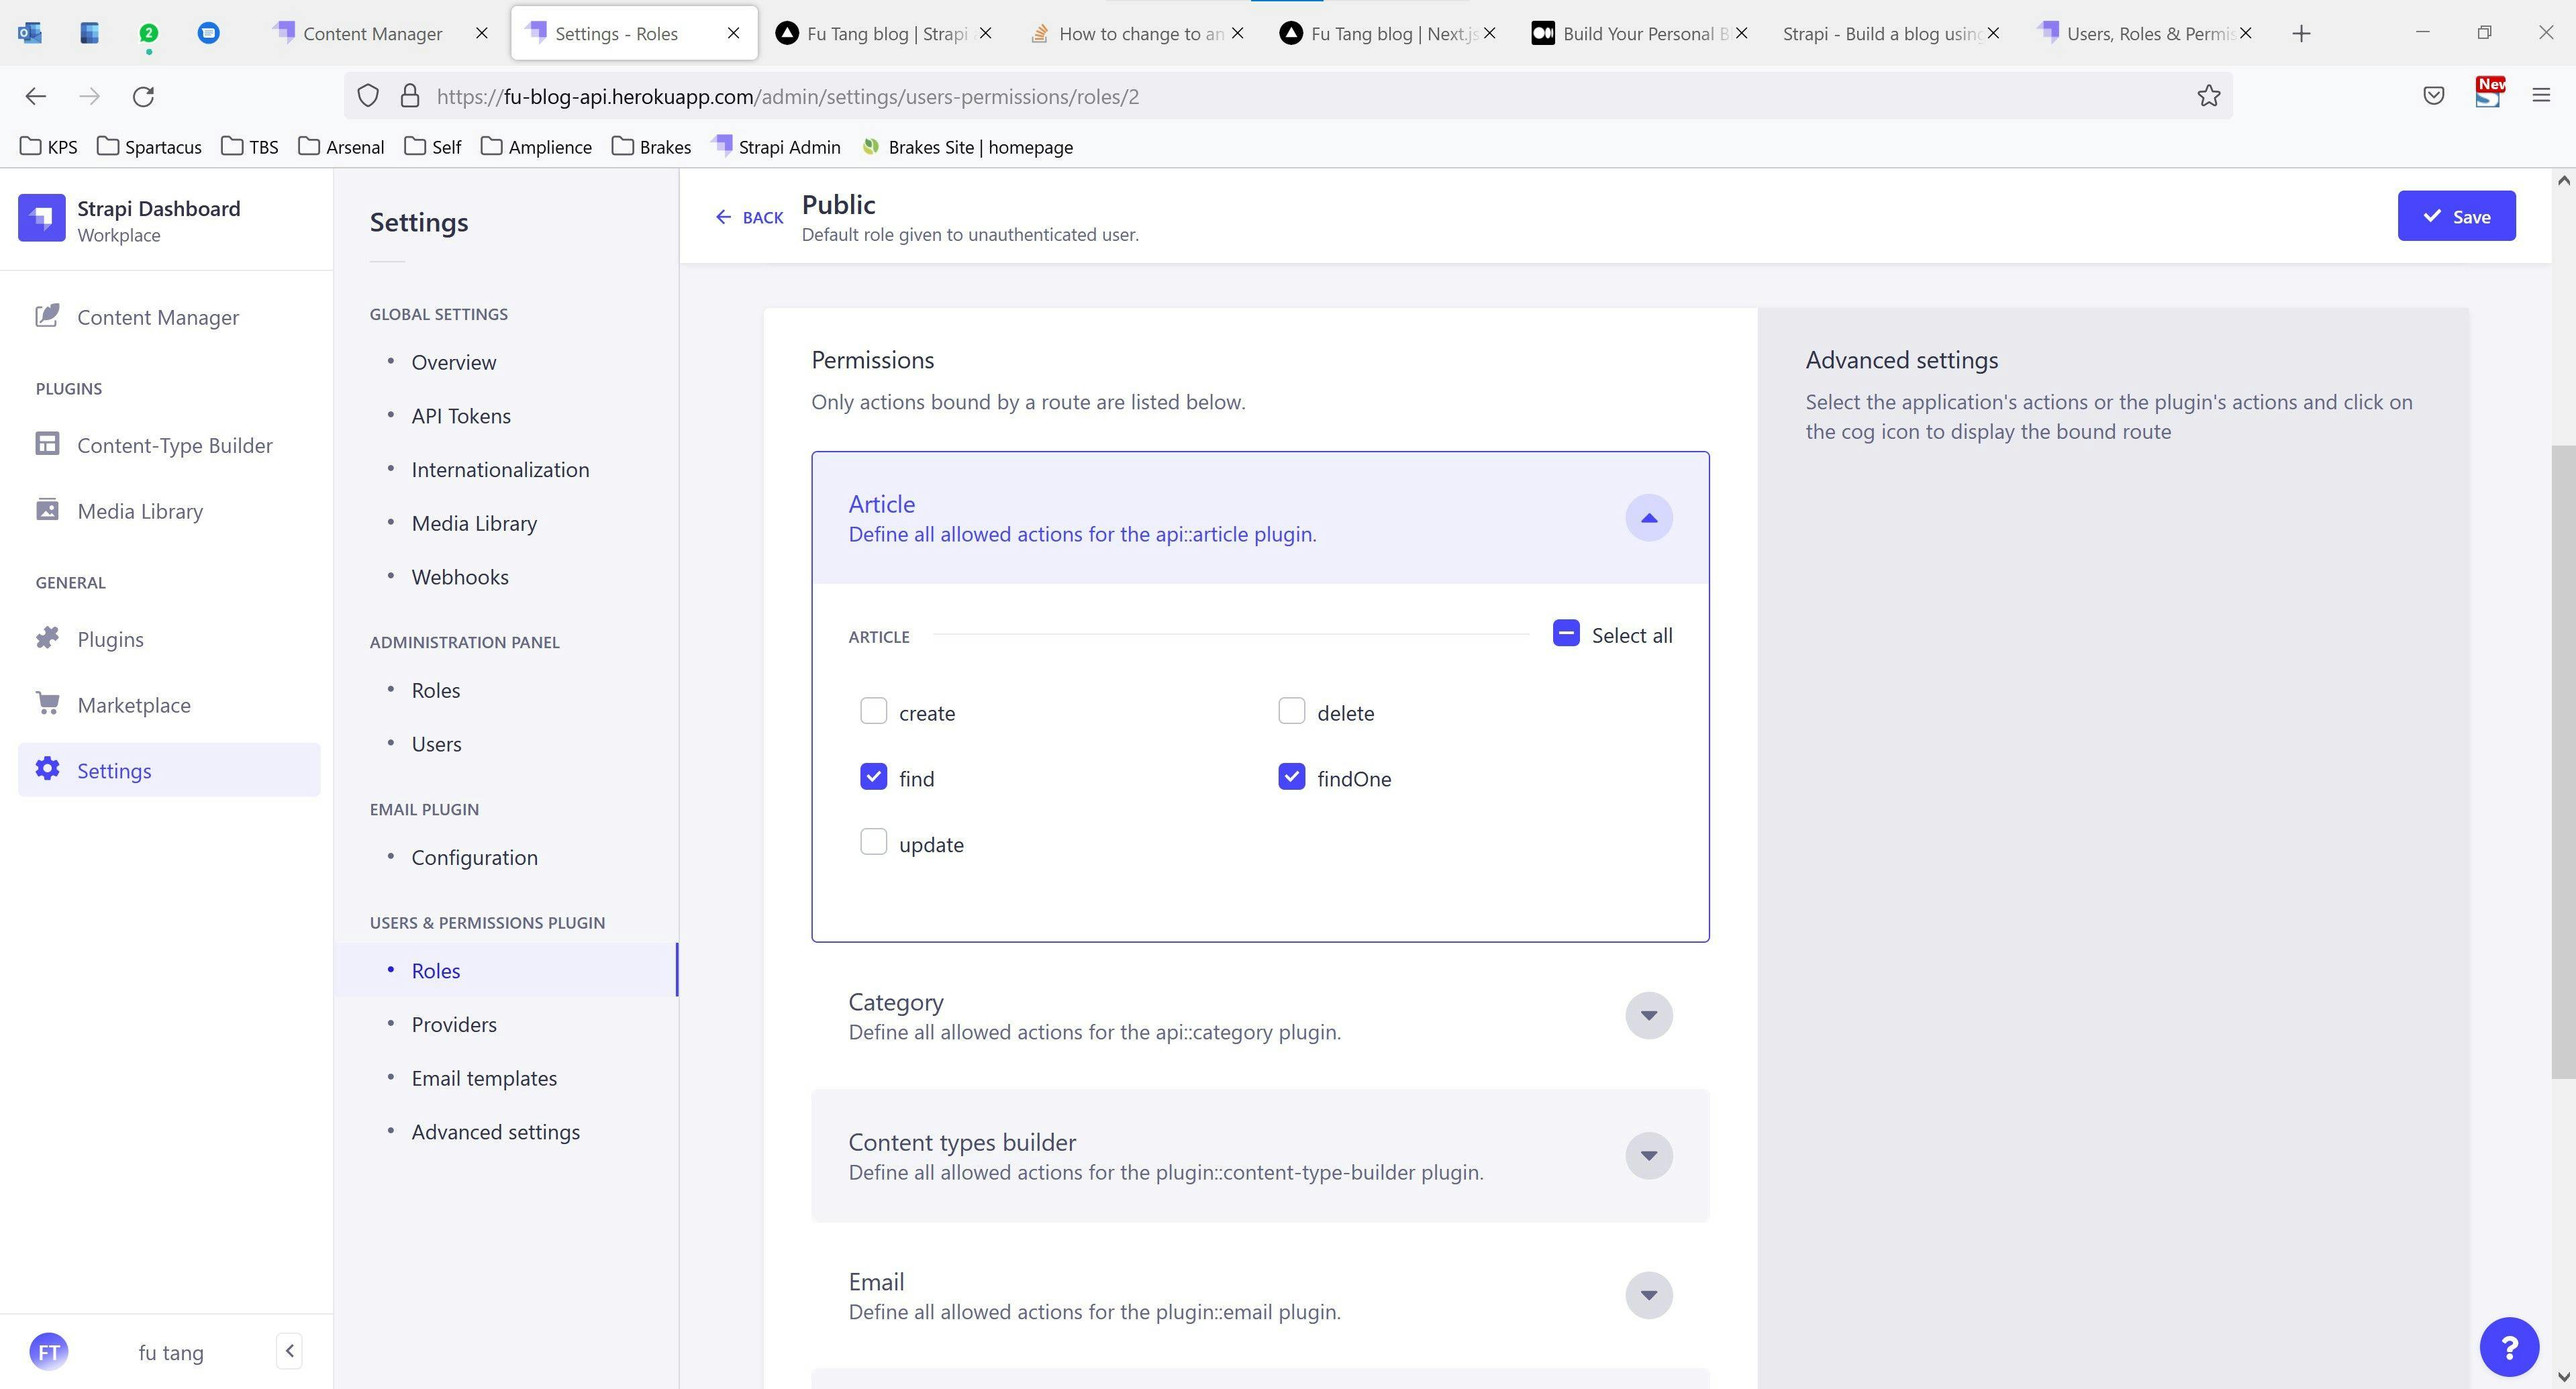
We will need to set up some permissions in order for us to retrieve the content from our blog. Go to "Settings" > "Users & Permissions plugin" > "Roles" > "Public"
In the Public section open the "Article" accordion and check "find" & "findOne" (Do the same for Category)
Add some content
Go to content manager and start adding some articles and categories.

Installing Next.js
npx create-next-app frontend
The above command will create a Next.js app called frontend (you should name it to something you can work with).
Packages
I use the following packages, but feel free to ignore this step or add your own favourites.
remark
This package is a unified processor with support for parsing markdown input and serializing markdown as output by using unified with remark-parse and remark-stringify. Source
remark html
This package is a unified (remark) plugin that compiles markdown to HTML. Source
date-fns
date-fns provides the most comprehensive, yet simple and consistent toolset for manipulating JavaScript dates in a browser & Node.js. Source
Fetch data from strapi
We will need a function to help us fetch data from our Strapi API. I created my Fetch function in pages/api/fetch.js (feel free to make it where ever makes sense for you)
export function getStrapiURL(path = '') {
  return `${process.env.NEXT_PUBLIC_STRAPI_API_URL || 'http://localhost:1337'}${path}`;
}

export async function fetchAPI(path) {
  const requestUrl = getStrapiURL(path);
  const response = await fetch(requestUrl);
  const data = await response.json();
  return data;
}
getStrapiURL will return a url using NEXT_PUBLIC_STRAPI_API_URL (if available in .env) otherwise use the local. It will than append the path param at the end.
fetchAPI will fetch the requestUrl and return the data ready to be consumed by our components.
Constants
I also create a object to store my end points in utils/constants.js
export const API_ENDPOINT = {
  ARTICLE: '/api/articles',
  ARTICLES: '/api/articles?populate=*&sort=publishedAt:DESC&pagination[page]=',
  CATEGORIES: '/api/categories',
  CATEGORY_FILTER: '?populate[articles][populate]=*',
};
Media
We need a function to aslo get strapi Media. I created mine in pages/api/media.js
import { getStrapiURL } from './fetch';

export function getStrapiMedia(media) {
  const imageUrl = media.url.startsWith('/') ? getStrapiURL(media.url) : media.url;
  return imageUrl;
}
Locally saved images have a structure like /uploads/. If your images are hosted else where it will more than likely start with https.
global.css
For this example we will greate a global.css. This file will contain styles shared by all components. It's a good place to put your resets and typography.
_app.js
Paste the below into your _app.js.
// Styles
import '../styles/global.css';

export default function App({ Component, pageProps }) {
  return (
      <Component {...pageProps} />
  );
}
Components
This article assumes you know React.js and will use the below as a reference only.
We will create an Index page that shows the latest articles sorted by most recently published (API_ENDPOINT.ARTICLES).
Layout
components/layout.js
// Next Components
import Head from 'next/head';

export const siteTitle = 'My blog';

export default function Layout({ children }) {

  return (
    <>
      <Head>
        ...
      </Head>
      ...
      <main >{children}</main>
      ...
    </>
  );
}
index.js (Home page)
pages/index.js
// Components
import Head from 'next/head';
import Image from 'next/image';
import Link from 'next/link';

// Custom components
import Layout, { siteTitle } from '../components/layout';

// Utils
import { fetchAPI } from './api/fetch';
import { API_ENDPOINT } from '../utils/constants';
import Date from './date';

export async function getStaticProps() {
  const latestProjects = await fetchAPI(API_ENDPOINT.ARTICLES);
  const latestProjectsAttributes = latestProjects.data.attributes;
  return {
    props: {
      postData: latestProjectsAttributes.articles,
    },
  };
}

export default function Home({ postData }) {
  return (
    <Layout>
      <Head>
        <title>{siteTitle} | home</title>
      </Head>
      ...
        <>
          {postData.data.length > 0 && postData.data.map(({ id, attributes }) => {
              return (
        		{!!attributes.Cover.data && (
                  <Image
                    src={attributes.Cover.data.attributes.url}
                    alt={attributes.Cover.data.attributes.name}
                    sizes={35}
                    layout="fill"
                    objectFit="cover"
                    objectPosition="top"
                  />
                )}

                <Link href={`/posts/${id}`}>
                  <a>{attributes.Title}</a>
                </Link>
        		<Date dateString={attributes.publishedAt} />
              )
            })
           }
        </>
      ...
    </Layout>
  );
}